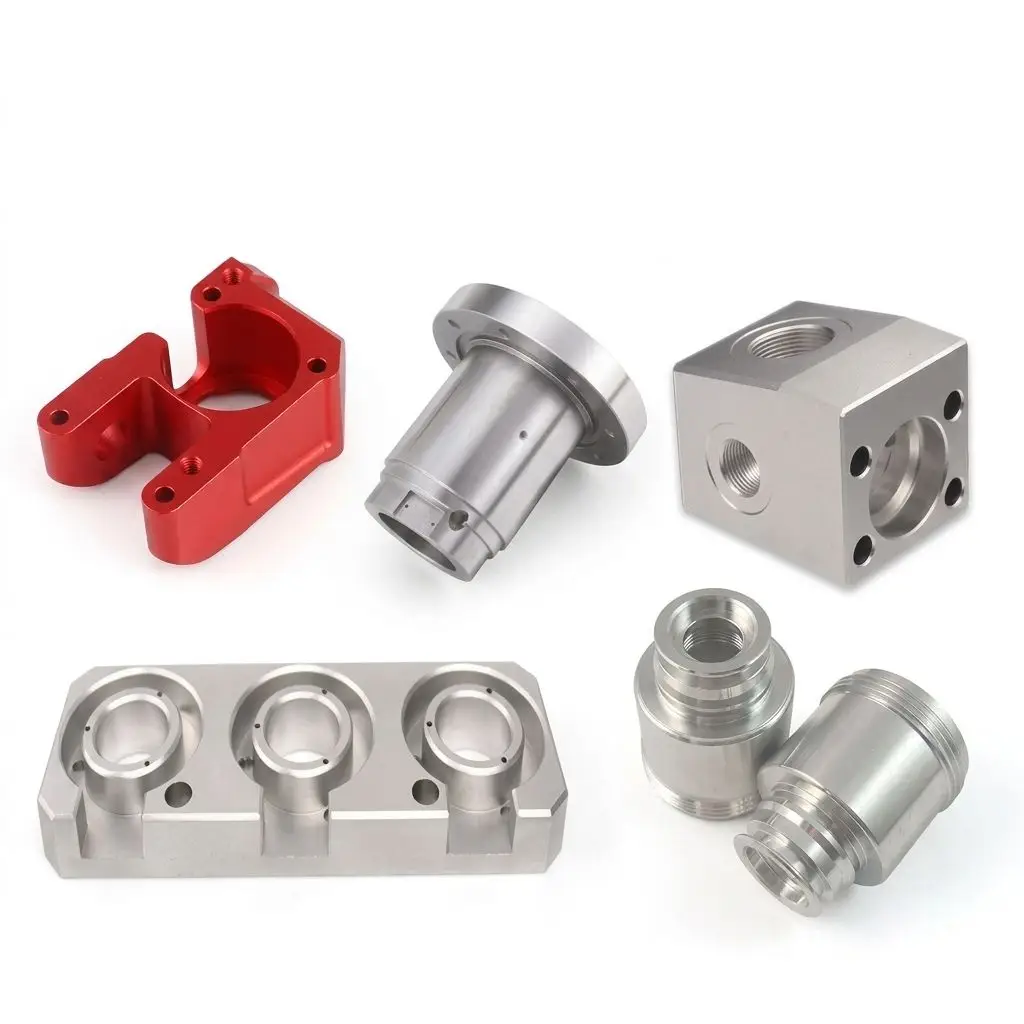
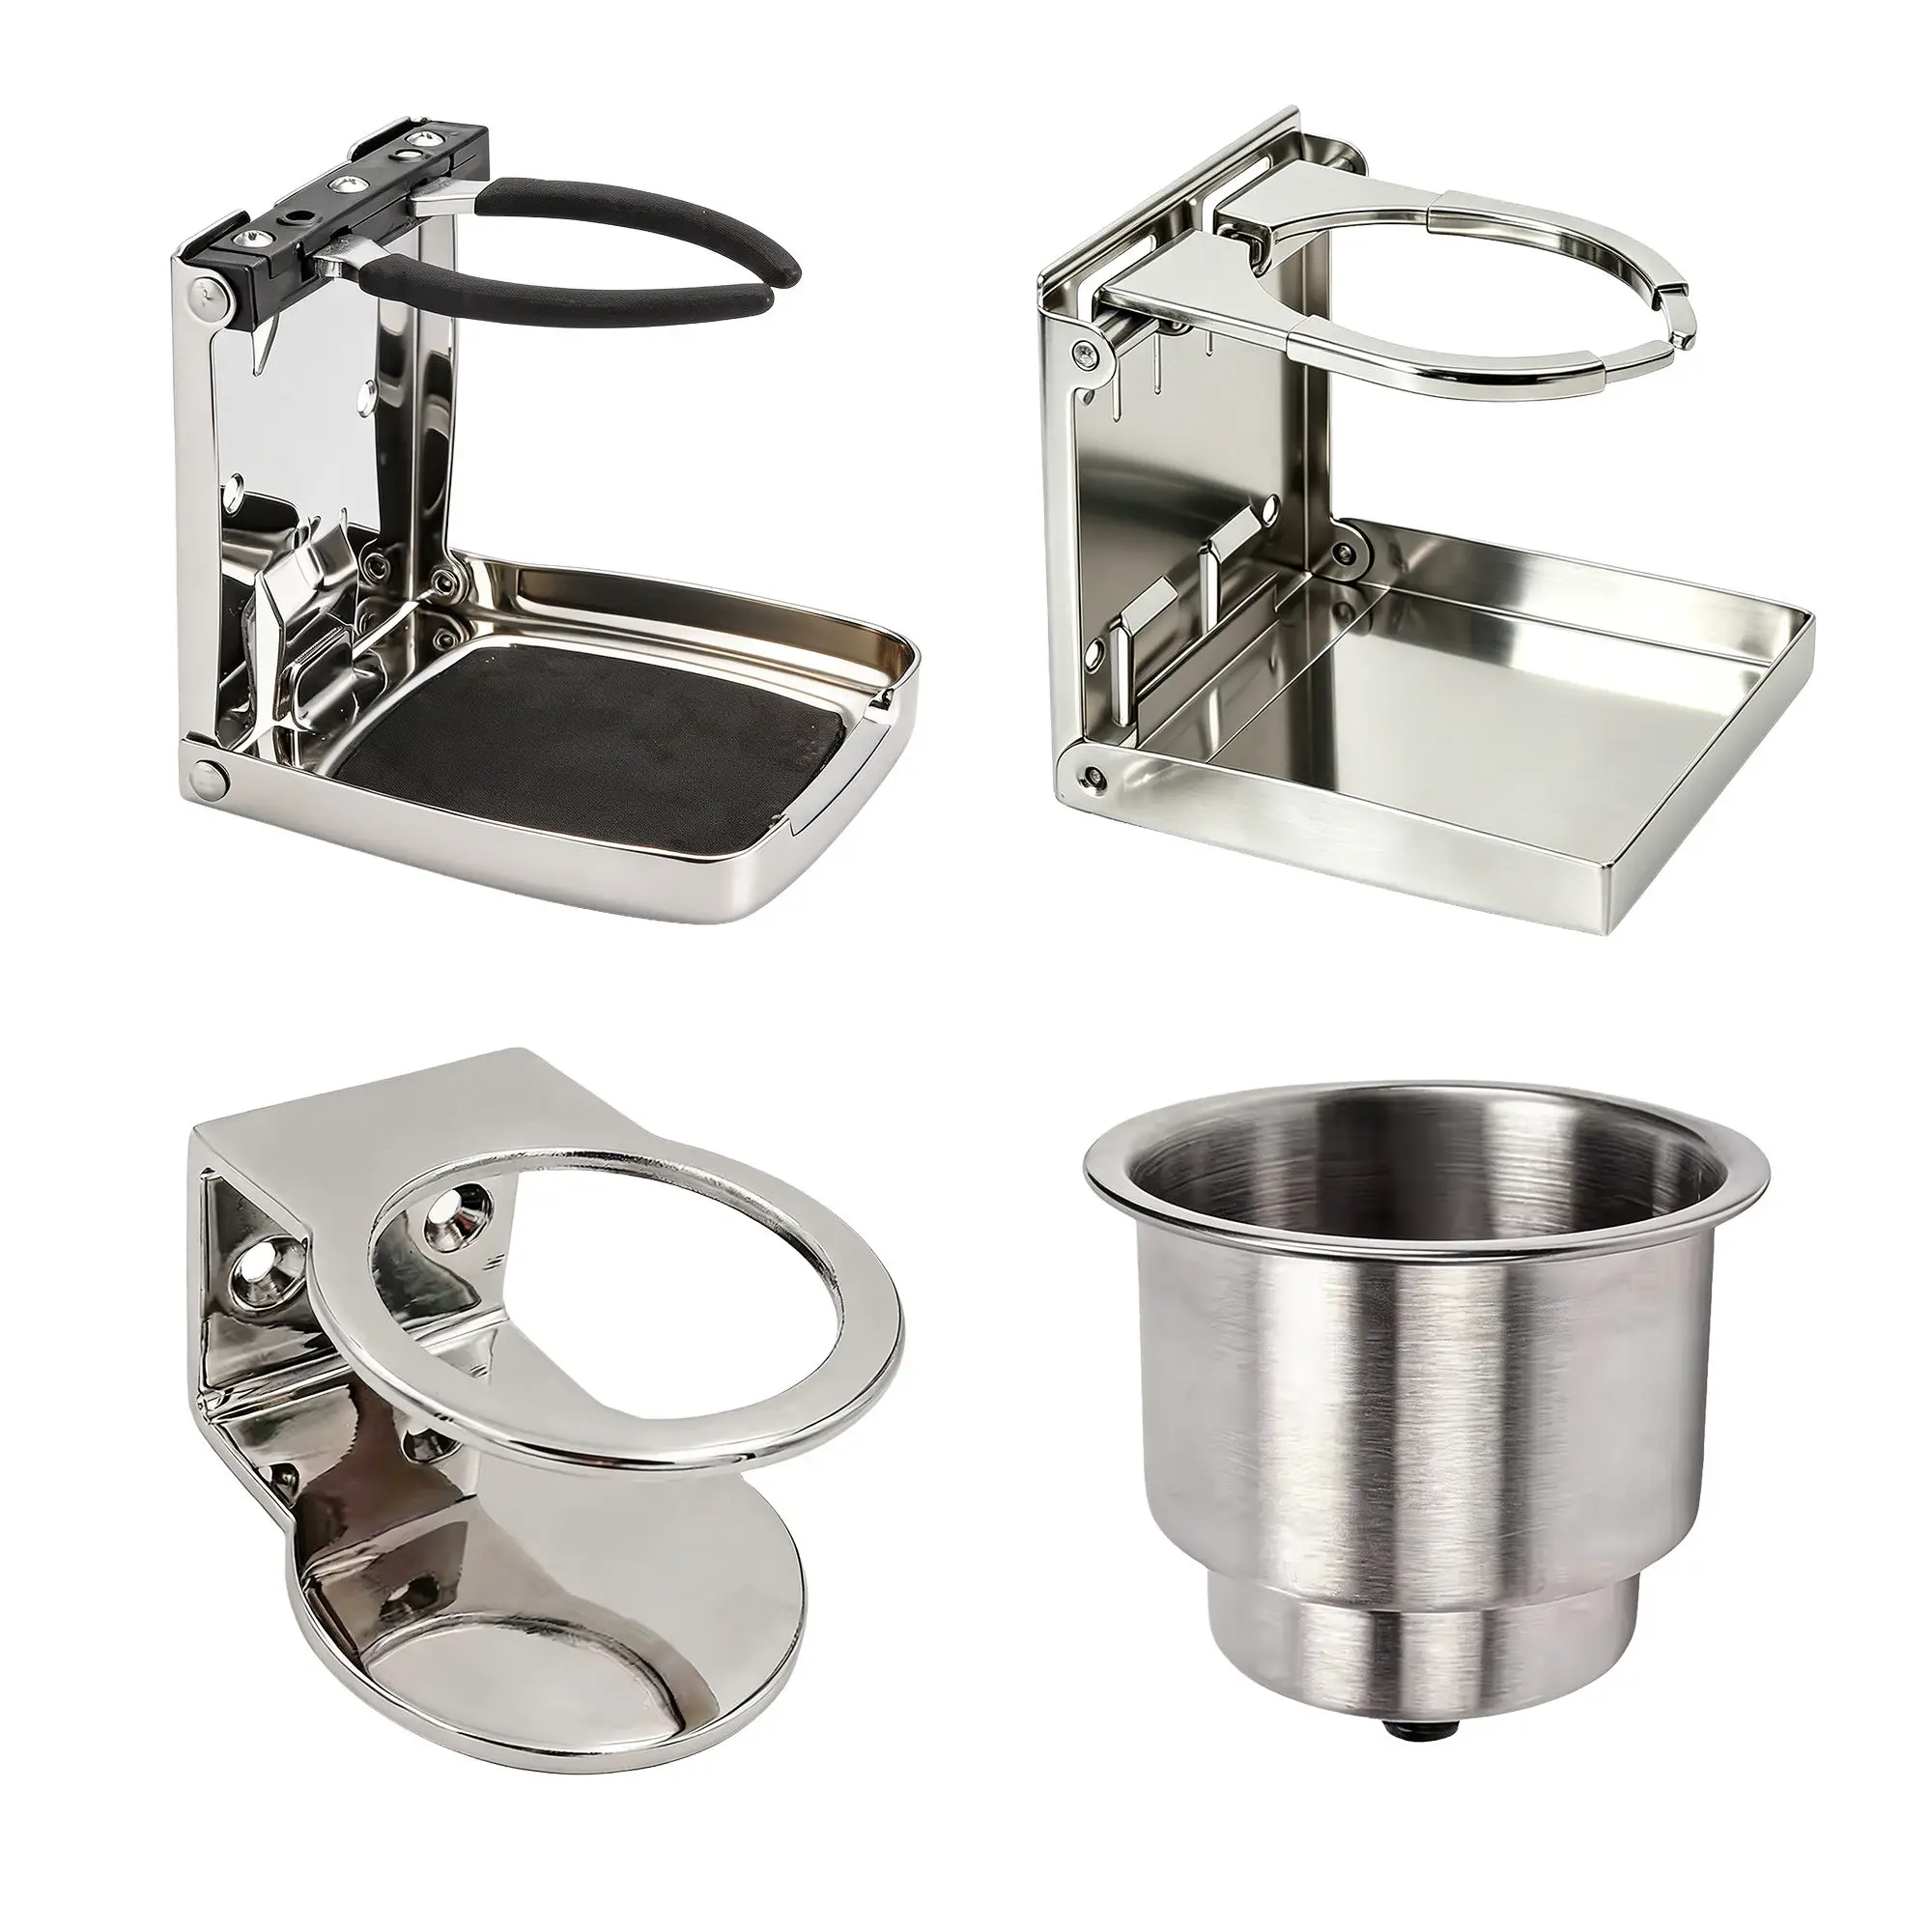
Understanding the manufacturing process helps you plan lead times, avoid surprises and communicate more effectively with your supplier. Here is how a custom vehicle part goes from idea to delivery.
Step 1 — Design and specification
You provide a drawing, CAD file or physical sample. We review it for manufacturability and confirm materials, tolerances and finishing. This stage resolves most questions before any metal is cut.
Step 2 — Prototype and sampling
A prototype or first sample is produced for your approval. You check fit, finish and function, and we adjust the design as needed. Prototyping is the cheapest point to catch problems.
Step 3 — Tooling (if required)
For casting, stamping or high-volume parts, tooling is prepared. Tooling cost and lead time are quoted separately, and the tooling remains dedicated to your product.
Step 4 — Production
Once the sample is approved, full production begins. In-process checks keep tolerances consistent across the batch.
Step 5 — Finishing and surface treatment
Parts receive their finish — anodizing, powder coating, polishing or plating — according to the approved specification.
Step 6 — Inspection and quality control
Final inspection verifies dimensions, finish and function before packaging. Documentation can be provided where required.
Step 7 — Packaging and delivery
Parts are packed to your requirements and shipped. Custom packaging and labeling are available for branded products.
Why process matters
A defined process with prototyping and inspection reduces risk and gives you predictable results. When evaluating a manufacturer, ask how they handle each stage — especially prototyping and quality control.
For custom automotive, marine, RV, motorcycle and bicycle parts, request a quote with your drawing and we will walk you through the process.
Specialists in custom vehicle parts manufacturing — OEM/ODM, CNC machining, materials selection and finishing for 8 vehicle lines.